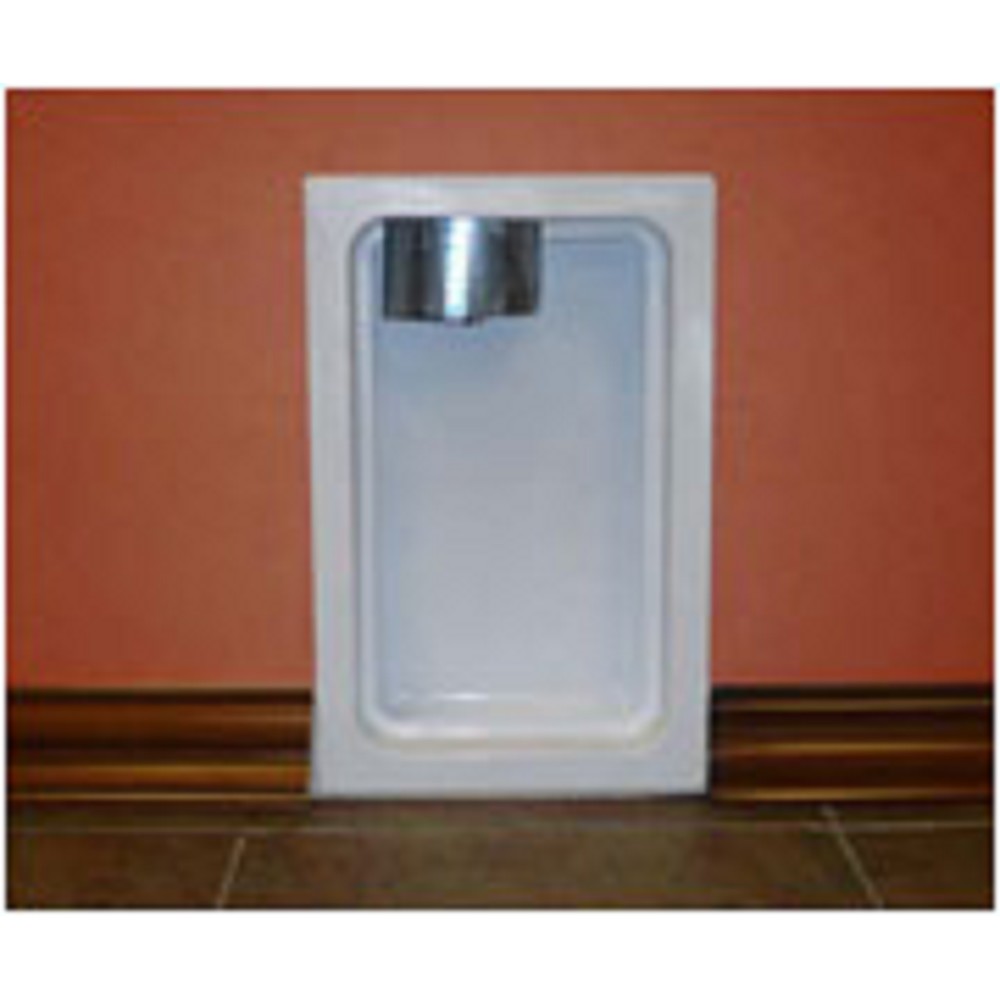
Installing a metal dryer box is an essential step in enhancing the safety and functionality of your laundry room. Not only does it provide a neat appearance, but it also maximizes the efficiency of your dryer by ensuring a clear path for exhaust. This guide outlines the necessary steps to safely install a metal dryer box, offering detailed insights into each phase of the installation process. Implementing these steps will help you avoid potential hazards and ensure a smooth operation.
Preparation and Safety Measures
Before diving into the installation process, it?s crucial to prepare adequately and prioritize safety. Begin by gathering the necessary tools and materials, ensuring everything is within reach. Key items required include:
- Metal dryer box
- Measuring tape
- Drywall saw
- Screwdriver
- Level
- Safety goggles and gloves
Safety should always be your primary concern. Wear safety goggles and gloves to protect against debris and sharp edges. It is also advisable to cut the power to the dryer to eliminate any risk of electric shock. For detailed strategies on ensuring safety during installation, discover expert strategies here.
Marking and Cutting the Wall
Measuring the Installation Area
Accurate measurement is critical to ensure the dryer box fits perfectly. Use a measuring tape to determine the dimensions of the wall section where the dryer box will be installed. Mark out the area, ensuring it aligns with the dryer’s exhaust vent.
Cutting the Drywall
Once the area is marked, proceed to cut the drywall using a drywall saw. Carefully cut along the marked lines to avoid damaging the surrounding wall. If you’re new to this, learn about our tailored solutions for handling drywall safely.
Installing the Metal Dryer Box
Positioning and Securing the Box
With the wall opening ready, place the metal dryer box into the cut-out section. Ensure it fits snugly and aligns with the vent pipe. Use a level to verify that the box is correctly positioned. Once satisfied, secure the dryer box using screws, ensuring it is stable and firmly attached.
Connecting the Vent Hose
After securing the dryer box, connect the dryer vent hose to the box?s connector. Ensure the connection is tight to prevent any leaks. This step is crucial to maintain the efficiency of your dryer system. For more advanced guides and tips on connecting dryer vents, explore advanced guides and tips.
Final Adjustments and Inspection
Once the installation is complete, perform a thorough inspection to ensure everything is in place and functioning correctly. Check the alignment of the dryer box and vent connections. Turn on the dryer to test the airflow and confirm that the vent is clear and unobstructed. If any issues arise, revisit the steps to address them promptly.
To enhance the installation, consider using a trim ring to provide a finished look. This addition not only conceals any imperfections around the cut-out but also adds a professional touch to the installation. For more information on enhancing your installation with additional features, find out more about this approach.
By following these steps, you can successfully install a metal dryer box, ensuring a safer and more efficient laundry room environment. This guide is designed to offer comprehensive insights, enabling you to execute the process with confidence and precision.